Designing tests
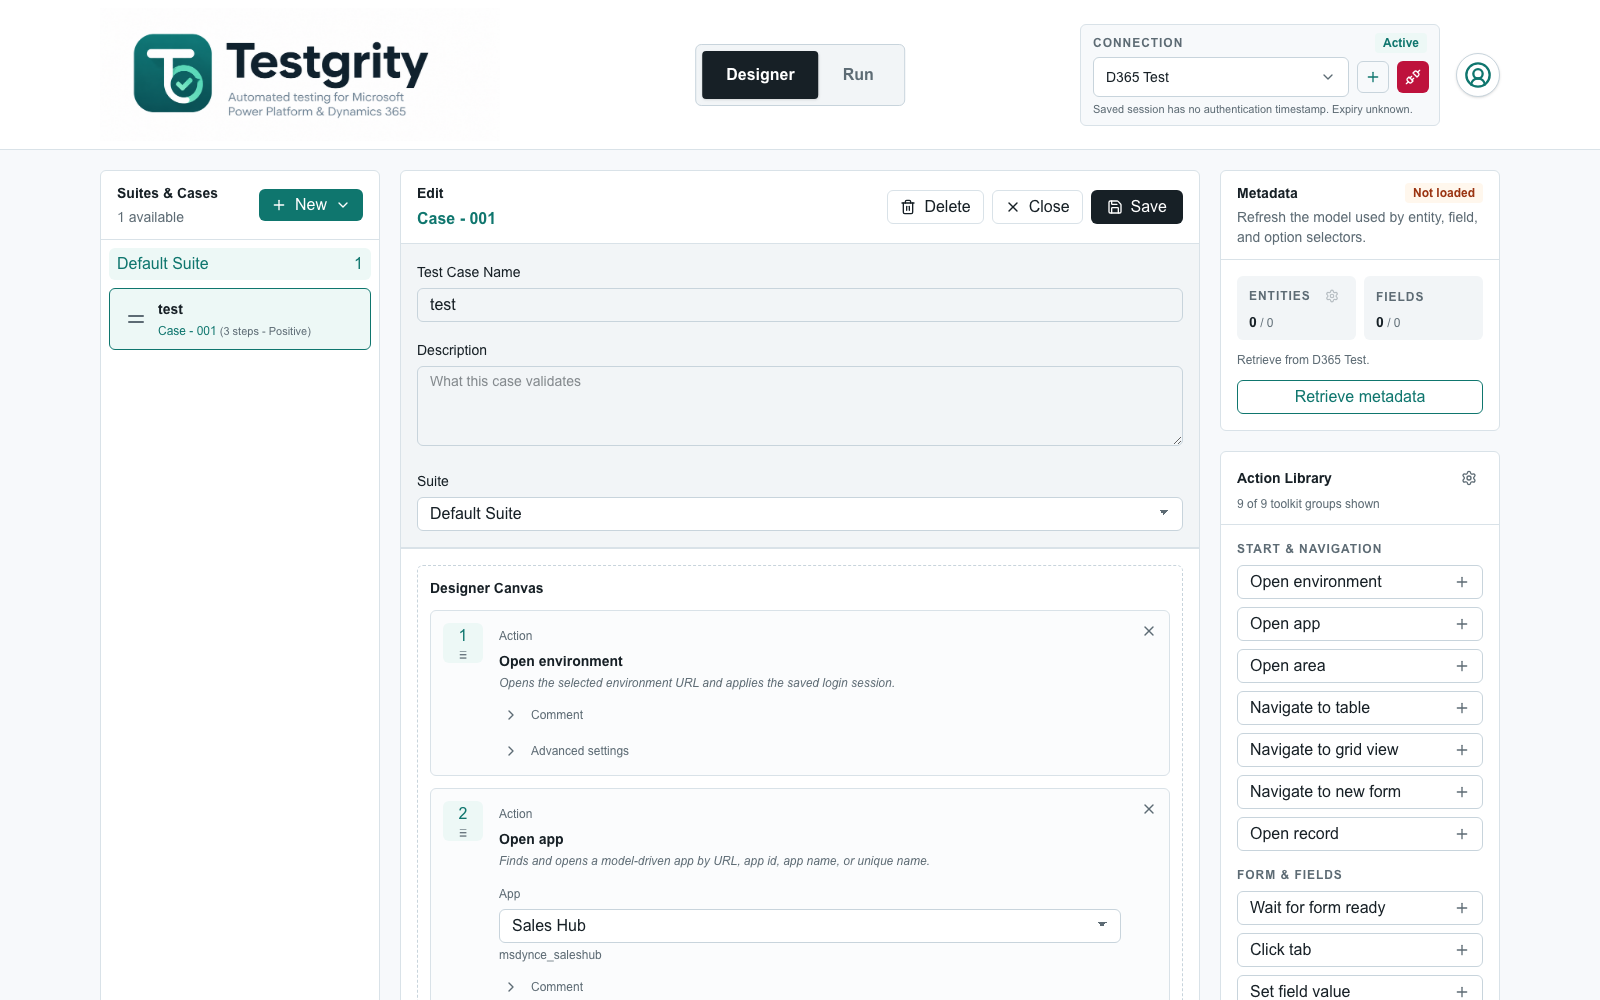
The Designer has three columns: suites and cases on the left, the selected editor in the centre, and the Action Library on the right. Manage connection-specific metadata from the database icon under Manage connections.
Create a suite
Suites group related test cases and are the unit executed from the Run workspace.
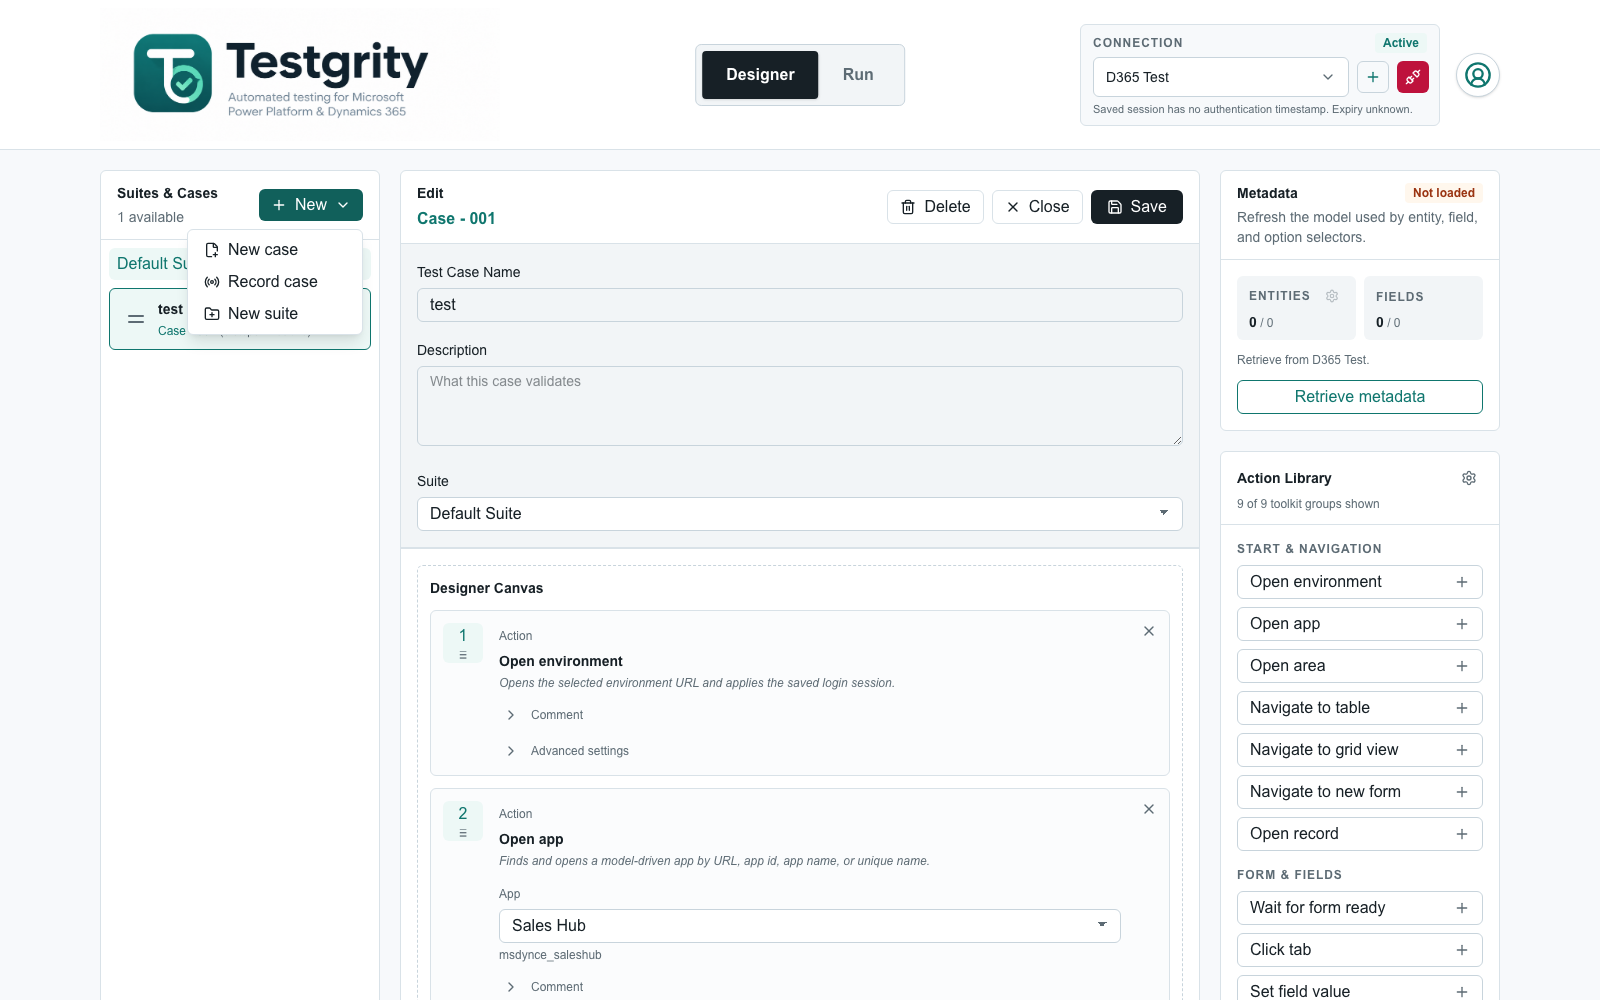
- Select New > New suite.
- Enter a suite name and optional description.
- Select Save.
Select a suite name in the left panel to edit it and review its contents. Empty suites remain visible and display No cases in this suite. The default suite cannot be deleted. When you delete another suite, Testgrity moves its cases to a different suite in the same project. If the suite contains cases and no other destination suite exists, create another suite before deleting it.
Create a test case
- Select New > New case.
- Enter a test case name and optional description.
- Select the suite that should contain the case.
- Add and configure steps on the Designer Canvas.
- Select Save.
The case number is assigned automatically. A case is labelled Positive when every step expects success and Negative when at least one step expects failure.
Add and arrange steps
Add an action by selecting it in the Action Library, or drag it into the canvas. Configure the target and value fields shown for that action.
- Drag a step's handle to change execution order.
- Select × on a step to remove it. A case must retain at least one step.
- Expand Comment to document intent or test data.
- Expand Advanced settings to change the expected outcome for that step.
- Use the Action Library settings icon to show only the toolkit groups you use.
Select Save after making changes. You can also press Ctrl+S on Windows or Cmd+S on macOS while working in the Designer.
The default first action is Open environment. A common smoke-test sequence is:
- Open environment.
- Open app.
- Open table.
- Wait for grid load or form ready.
- Perform an action.
- Add one or more verification steps.
Select targets from metadata
When metadata is loaded, use the entity, app, field, and choice selectors to avoid spelling errors. Some steps allow typed text as a fallback when the desired control is not present in metadata.
Two navigation actions use metadata by default and offer text fallback in Advanced settings:
- For Open app, select an app retrieved from metadata. Turn on Use text fallback for this step to enter the label displayed in the D365 app selector.
- For Open table, select a table to navigate directly using its logical name. Turn on Use visible navigation label to enter the label displayed in the current app navigation.
Labels must match the text displayed in D365. The GUID and logical-name options are generally more resilient to renamed navigation labels.
When metadata is unavailable, every action that supports text fallback switches to it automatically. Text fallback remains required until metadata is retrieved.
Refresh metadata after apps, tables, columns, or choices change in the target environment. Remember that metadata comes from the active connection, while the case itself belongs to the active project.
If an Open app step shows Saved app is no longer available, its saved reference could not be matched to the apps returned by the active environment. Confirm the correct environment is selected and refresh metadata. Then select the intended app again, or turn on Use text fallback for this step in Advanced settings and enter its visible D365 app label.
To remove an environment's cached model completely, open Manage connections, select its database icon, then select the trash button in Manage metadata and confirm. Metadata selectors become unavailable, and supported steps switch to text fallback until you retrieve the metadata again. Removing cached metadata does not delete the environment, suites, or test cases.
Set expected outcomes
Each step normally expects Success. Set a step to Failed when failure is the intended behaviour, such as confirming that invalid input is rejected.
A negative step passes only when its action fails as expected. If it succeeds unexpectedly, the report records: “Expected this step to fail, but it passed.”
Organise cases
In the left panel:
- Drag cases within a suite to reorder them.
- Drag a case onto another suite to move it.
- Select a case to edit it.
- Select Delete in the case editor to remove it.
Save before leaving the editor. Portal runs use the displayed case order and are sequential by default. Administrators or API integrations may configure controlled concurrency where the deployment supports it; the portal does not currently provide a concurrency selector.
Next steps
- To capture a workflow instead, see Recording tests.
- For every available action, see the Action reference.
- When your suite is ready, see Running tests and reviewing reports.